write ahead log

ロールフォワード用

curlでRESTっぽくやる時に使うオプション

毎回調べるのめんどくさい.

HTTP Methodを切り替える

Xオプションを使います.

$ curl -X PUT [hostname]

パラメータを与える

dオプションを使います. GETでもPOSTでも使えるっぽいです.

$ curl -d arg=param1 -d arg1=param2 [hostname]

ボディへ直接データを入れる

data-binaryオプションを使います.

以下の例では「raw string」を直接送信します.

$ curl --data-binary "raw string" [hostname]

ファイル指定もできます.

@ファイル名で指定です.

$ curl --data-binary @filename [hostname]

HTTPヘッダを追加する

Hオプションを使います.

上記例と組み合わせると, xmlをapplication/xmlヘッダ付きで送信できます.

$ curl -H "Content-Type: application/xml" --data-binary @test.xml [hostname]

ベーシック認証

uオプションを使います.

$ curl -u user:password [hostname]

golangでメールを送る

golangのメールパッケージnet/smtpはなんというか, 非常に薄いです.

他のパッケージも同じで思想がハッキリ出ていますが, smtpパッケージも例外ではありません.

おかげでメールの仕組みを学ぶことが出来ました.

ただまぁ, メールは外部パッケージ使ったほうがいいかも....

できるだけ標準を使う志向の私もマルチバイトの処理がないのは流石に....

SMTPで平文 + ASCIIでメールを送る

一番泥臭いやり方.

日本語を入れたら文字化けした.

UTF-8を使った方法を別に学ぶ必要がありそう.

package main

import (
    "bytes"
    "log"
    "net/smtp"
)

const (
    // メールサーバのアドレス
    mailSvrAddr = "mail.svr.co.jp:25"
    // 送信者のメールアドレス
    mailSenderAddr = "twinbird@hoge.co.jp"
    // 受信者のメールアドレス
    mailRecepterAddr = "twinbird@hoge.co.jp"
    // CC:受信者のメールアドレス
    mailCCRecepterAddr = "twinbird@hoge.co.jp"
    // 件名
    mailSubject = "mail subject"
    // 本文
    mailText = `
  this is a 
  test mail
  `
)

func main() {
    c, err := smtp.Dial(mailSvrAddr)
    if err != nil {
        log.Fatal(err)
    }
    // メール送信者(送信元)の設定
    c.Mail(mailSenderAddr)
    // メール受信者(送信先)の設定
    c.Rcpt(mailRecepterAddr)
    // CCでのメール受信者(CC送信先)の設定
    c.Rcpt(mailCCRecepterAddr)

    // メールのボディを作成
    wc, err := c.Data()
    if err != nil {
        log.Fatal(err)
    }
    defer wc.Close()

    // バッファでボディの内容を構成していく
    buf := bytes.NewBufferString("")

    // Toを指定
    buf.WriteString("To:" + mailRecepterAddr)
    buf.WriteString("\r\n") // To終わり
    // CCを指定
    buf.WriteString("Cc:" + mailCCRecepterAddr)
    buf.WriteString("\r\n") // CC終わり

    // タイトル(件名)指定
    buf.WriteString("Subject:" + mailSubject)
    buf.WriteString("\r\n") // タイトル終わり

    // 送信元の指定
    buf.WriteString("From:" + mailSenderAddr)
    buf.WriteString("\r\n") // From終わり

    // メールヘッダ終わり
    buf.WriteString("\r\n")

    // 本文指定
    buf.WriteString(mailText)
    if _, err = buf.WriteTo(wc); err != nil {
        log.Fatal(err)
    }

    // メールセッション終了
    c.Quit()
}

TLS認証使ってメールを送る

複数の送信先が必要な場合はSendMailメソッドで楽したらダメな様です.

結局↑のやり方 + Authを使うみたい.

package main

import (
    "log"
    "net/smtp"
)

func main() {
    // 認証情報作成
    auth := smtp.PlainAuth(
        "",                 // identity(って何?これだけわからん)
        "user@example.com", // ユーザ名
        "password",         // パスワード
        "mail.example.com") // ホスト名

    to := []string{"twinbird@example.net"}
    msg := []byte("To: twinbird@example.net\r\n" +
        "Subject: Title\r\n" +
        "\r\n" +
        "This is the email body.\r\n")

    // メール送信
    err := smtp.SendMail(
        "mail.example.com:25", // 接続先メールサーバ
        auth,                 // 認証情報
        "sender@example.org", // 送信元アドレス
        to,                   // 送信先アドレス
        msg)                  // メッセージ
    if err != nil {
        log.Fatal(err)
    }
}

その他のパッケージを使う

githubで紹介されています

参考

smtp - The Go Programing Language

メールの仕組み - Geekなぺーじ

golang/go - Sending Mail

golang(net/http)でBasic認証する

net/httpでBasic認証を使ったのでスニペットとしてメモ.

package main

import (
    "fmt"
    "net/http"
)

const (
    basicAuthUser     = "user"
    basicAuthPassword = "password"
)

func main() {
    http.HandleFunc("/need", needAuthHandler)
    http.HandleFunc("/unneed", unneedAuthHandler)

    http.ListenAndServe(":8080", nil)
}

// 認証が要るハンドラ
func needAuthHandler(w http.ResponseWriter, r *http.Request) {
    // Basic認証のヘッダ解析に失敗したらokにfalseが入るみたい
    user, pass, ok := r.BasicAuth()
    // 入力された内容のチェック
    if ok == false || user != basicAuthUser || pass != basicAuthPassword {
        w.Header().Set("WWW-Authenticate", `Basic realm="auth area"`)
        http.Error(w, "needs authenticate", http.StatusUnauthorized)
        return
    }
    fmt.Fprintln(w, "authed")
}

// 認証不要のハンドラ
func unneedAuthHandler(w http.ResponseWriter, r *http.Request) {
    fmt.Fprintln(w, "Hello")
}

もう少し汎化して綺麗にするならこんな感じかしら.

package main

import (
    "fmt"
    "net/http"
)

const (
    // Basic認証のUserID
    basicAuthUser     = "user"
    // Basic認証のPassword
    basicAuthPassword = "password"
)

// 認証が必要なハンドラ用の型
type basicAuthHandler func(w http.ResponseWriter, r *http.Request, u string)

func main() {
    // ラッパーかます
    http.HandleFunc("/need", needBasicAuth(needAuthHandler))
    http.HandleFunc("/unneed", unneedBasicAuth(unneedAuthHandler))

    http.ListenAndServe(":8080", nil)
}

// 認証メソッド
// 必要ならDBとかにアクセス
func basicAuthenticate(user, pass string) bool {
    if user == basicAuthUser && pass == basicAuthPassword {
        return true
    }
    return false
}

// 認証が必要な場合のラッパ
func needBasicAuth(fn basicAuthHandler) http.HandlerFunc {
    return func(w http.ResponseWriter, r *http.Request) {
        user, pass, ok := r.BasicAuth()
        if ok == false || basicAuthenticate(user, pass) == false {
            w.Header().Set("WWW-Authenticate", `Basic realm="auth area"`)
            http.Error(w, "needs authenticate", http.StatusUnauthorized)
            return
        }
        fn(w, r, user)
    }
}

// 認証が不要な場合のラッパ
func unneedBasicAuth(fn basicAuthHandler) http.HandlerFunc {
    return func(w http.ResponseWriter, r *http.Request) {
        fn(w, r, "")
    }
}

// 認証が必要なハンドラ
func needAuthHandler(w http.ResponseWriter, r *http.Request, u string) {
    fmt.Fprintln(w, "authed")
}

// 認証が不要なハンドラ
func unneedAuthHandler(w http.ResponseWriter, r *http.Request, u string) {
    fmt.Fprintln(w, "Hello")
}

goでlifegame書いた

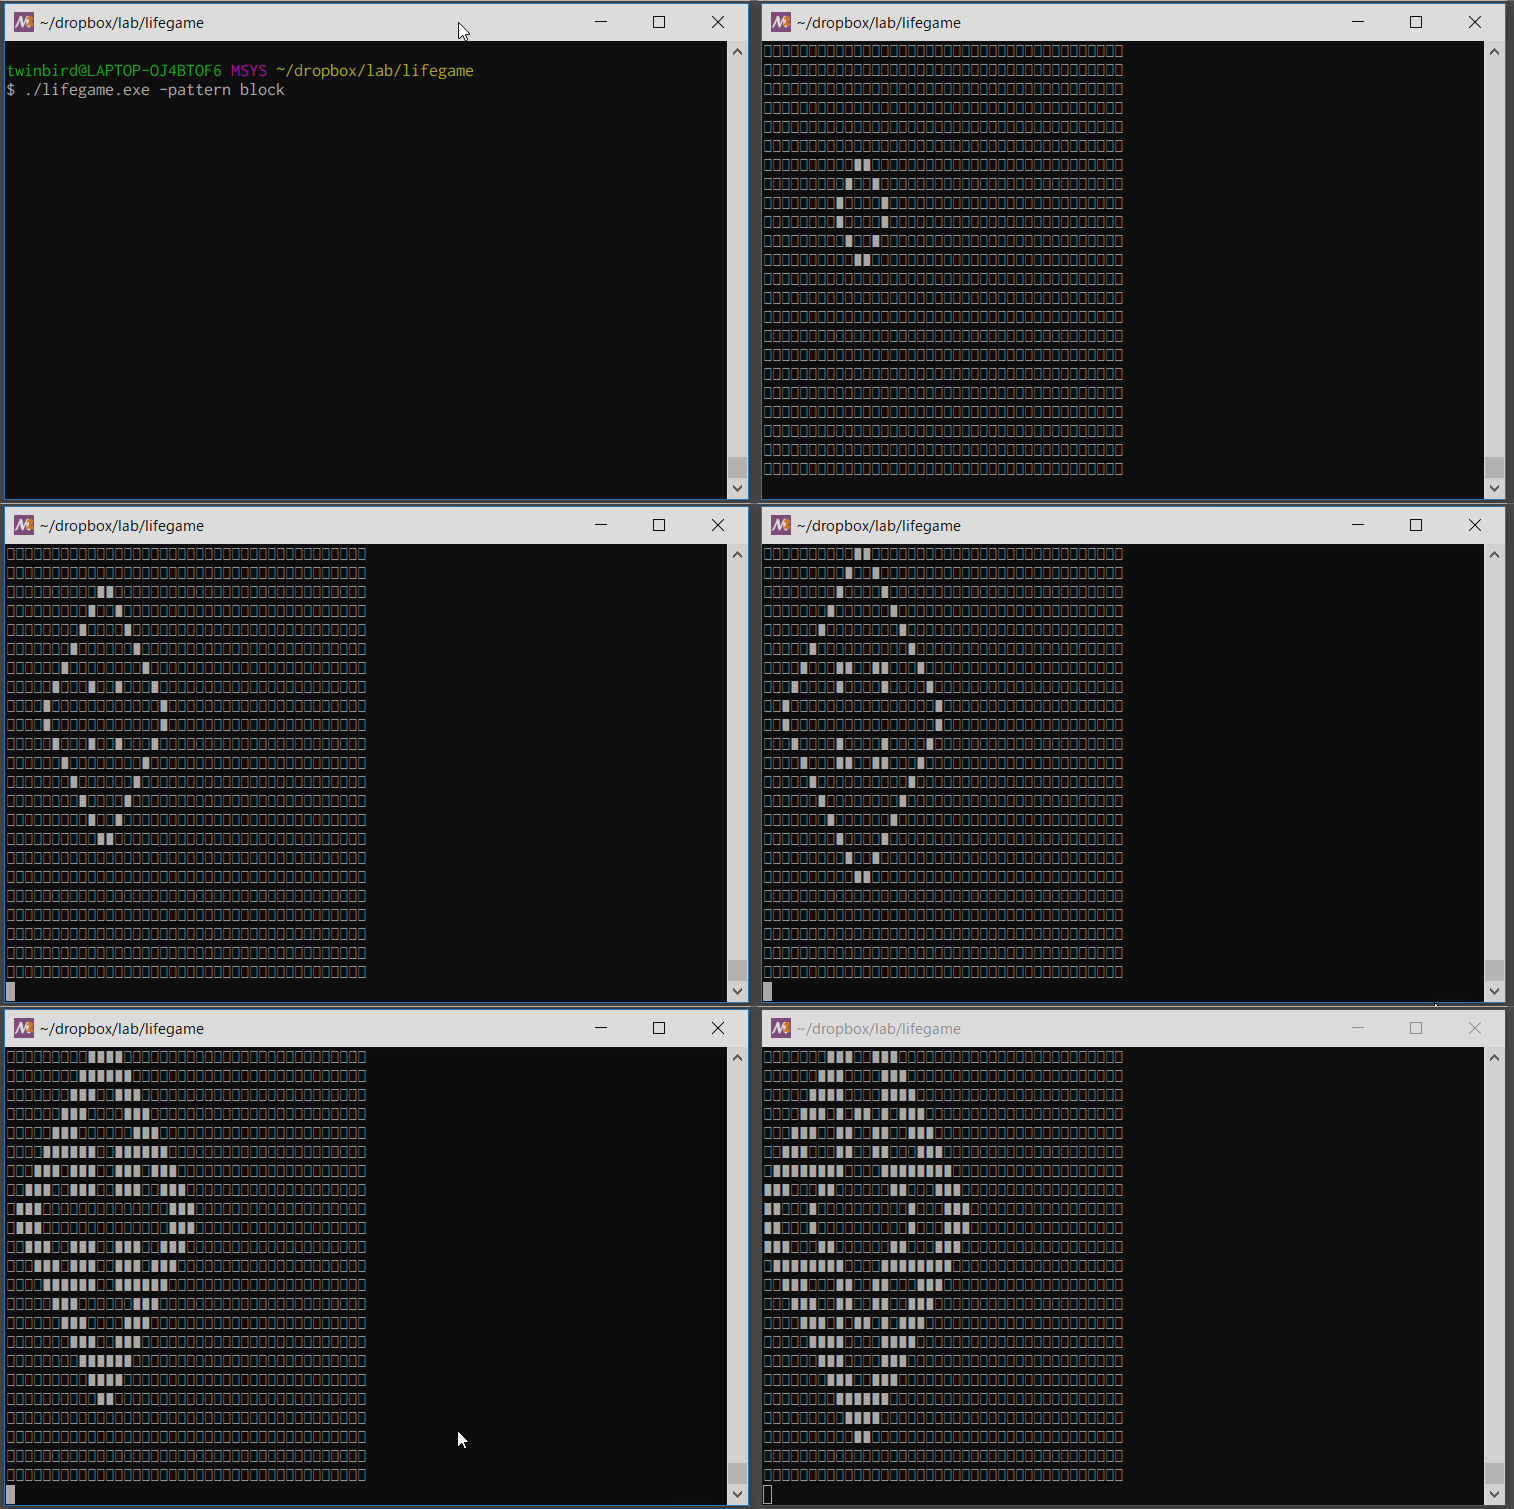
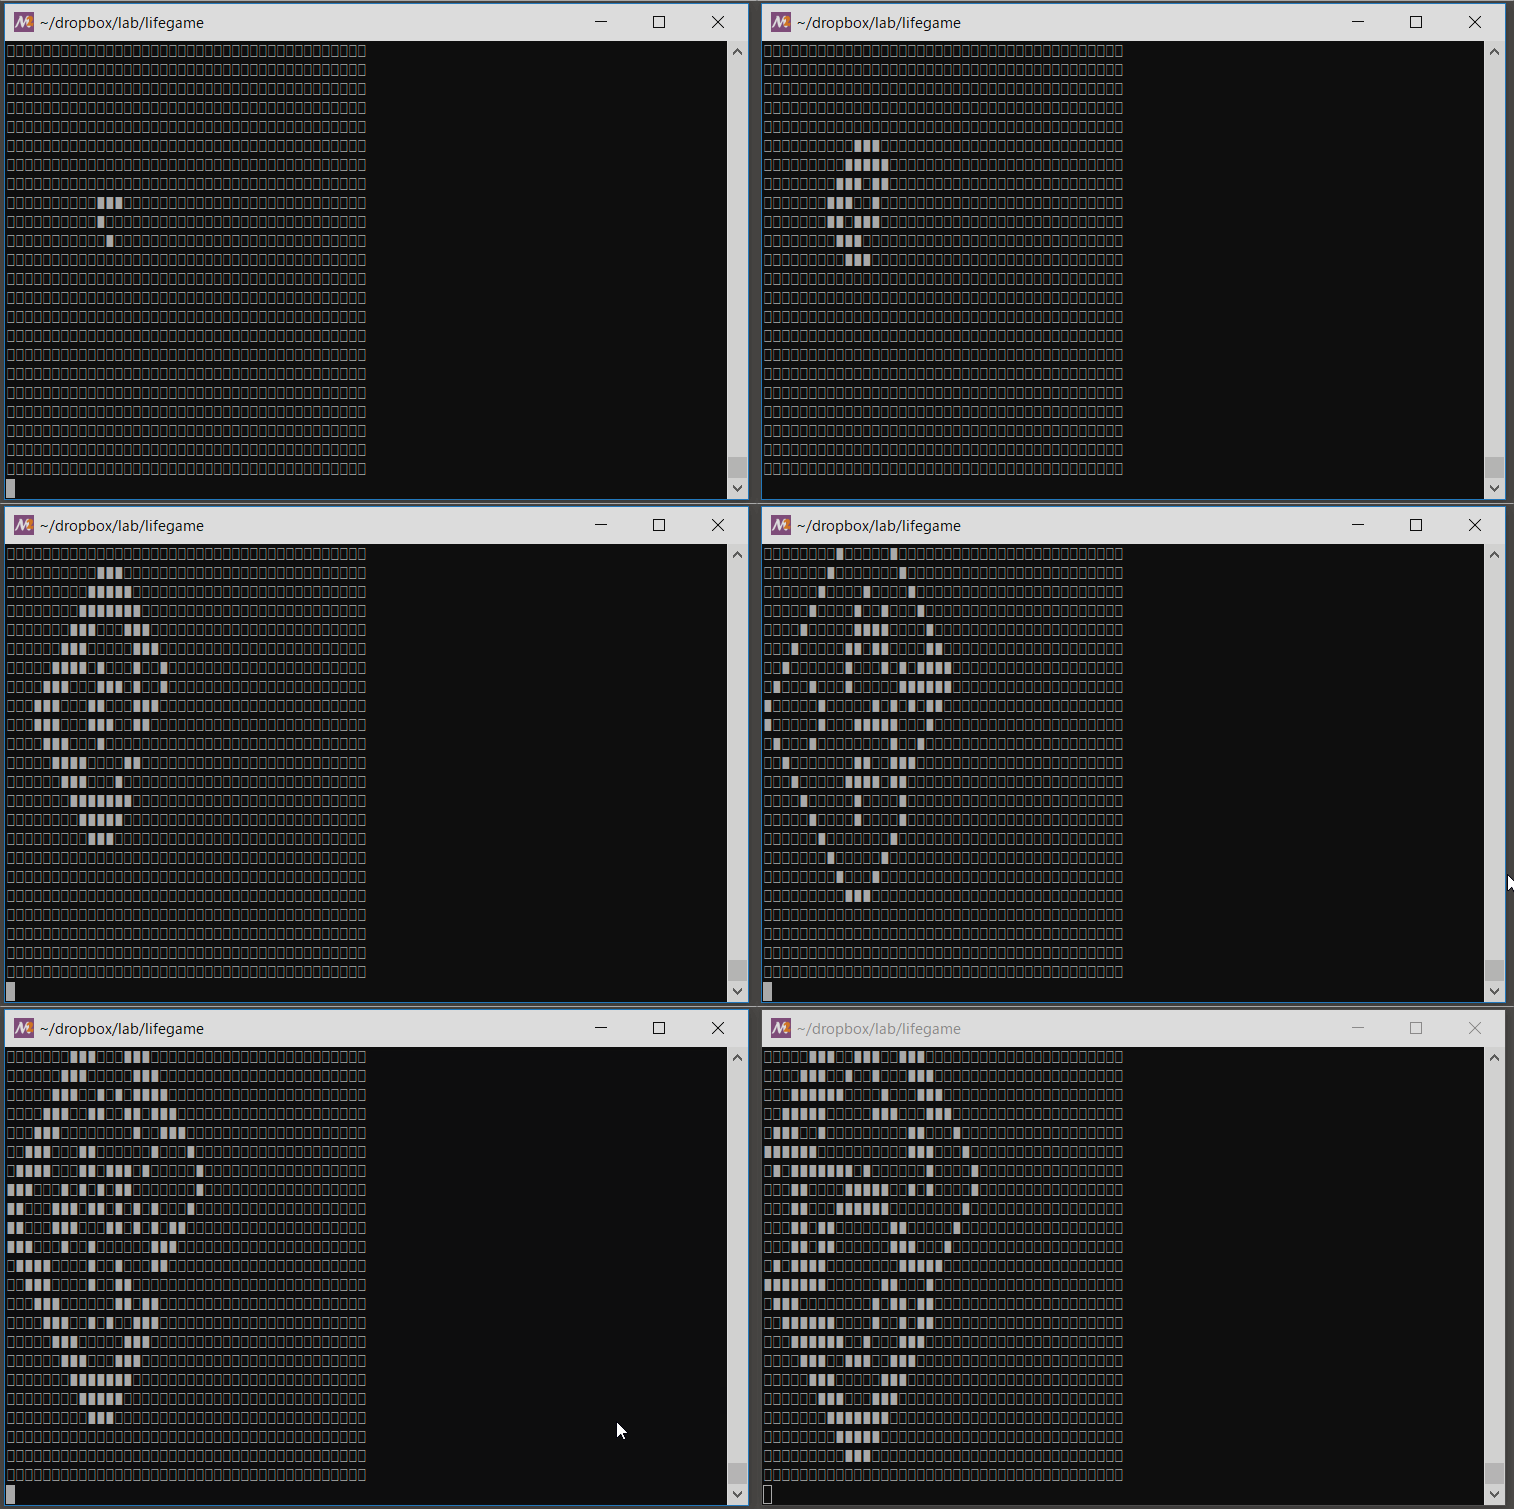
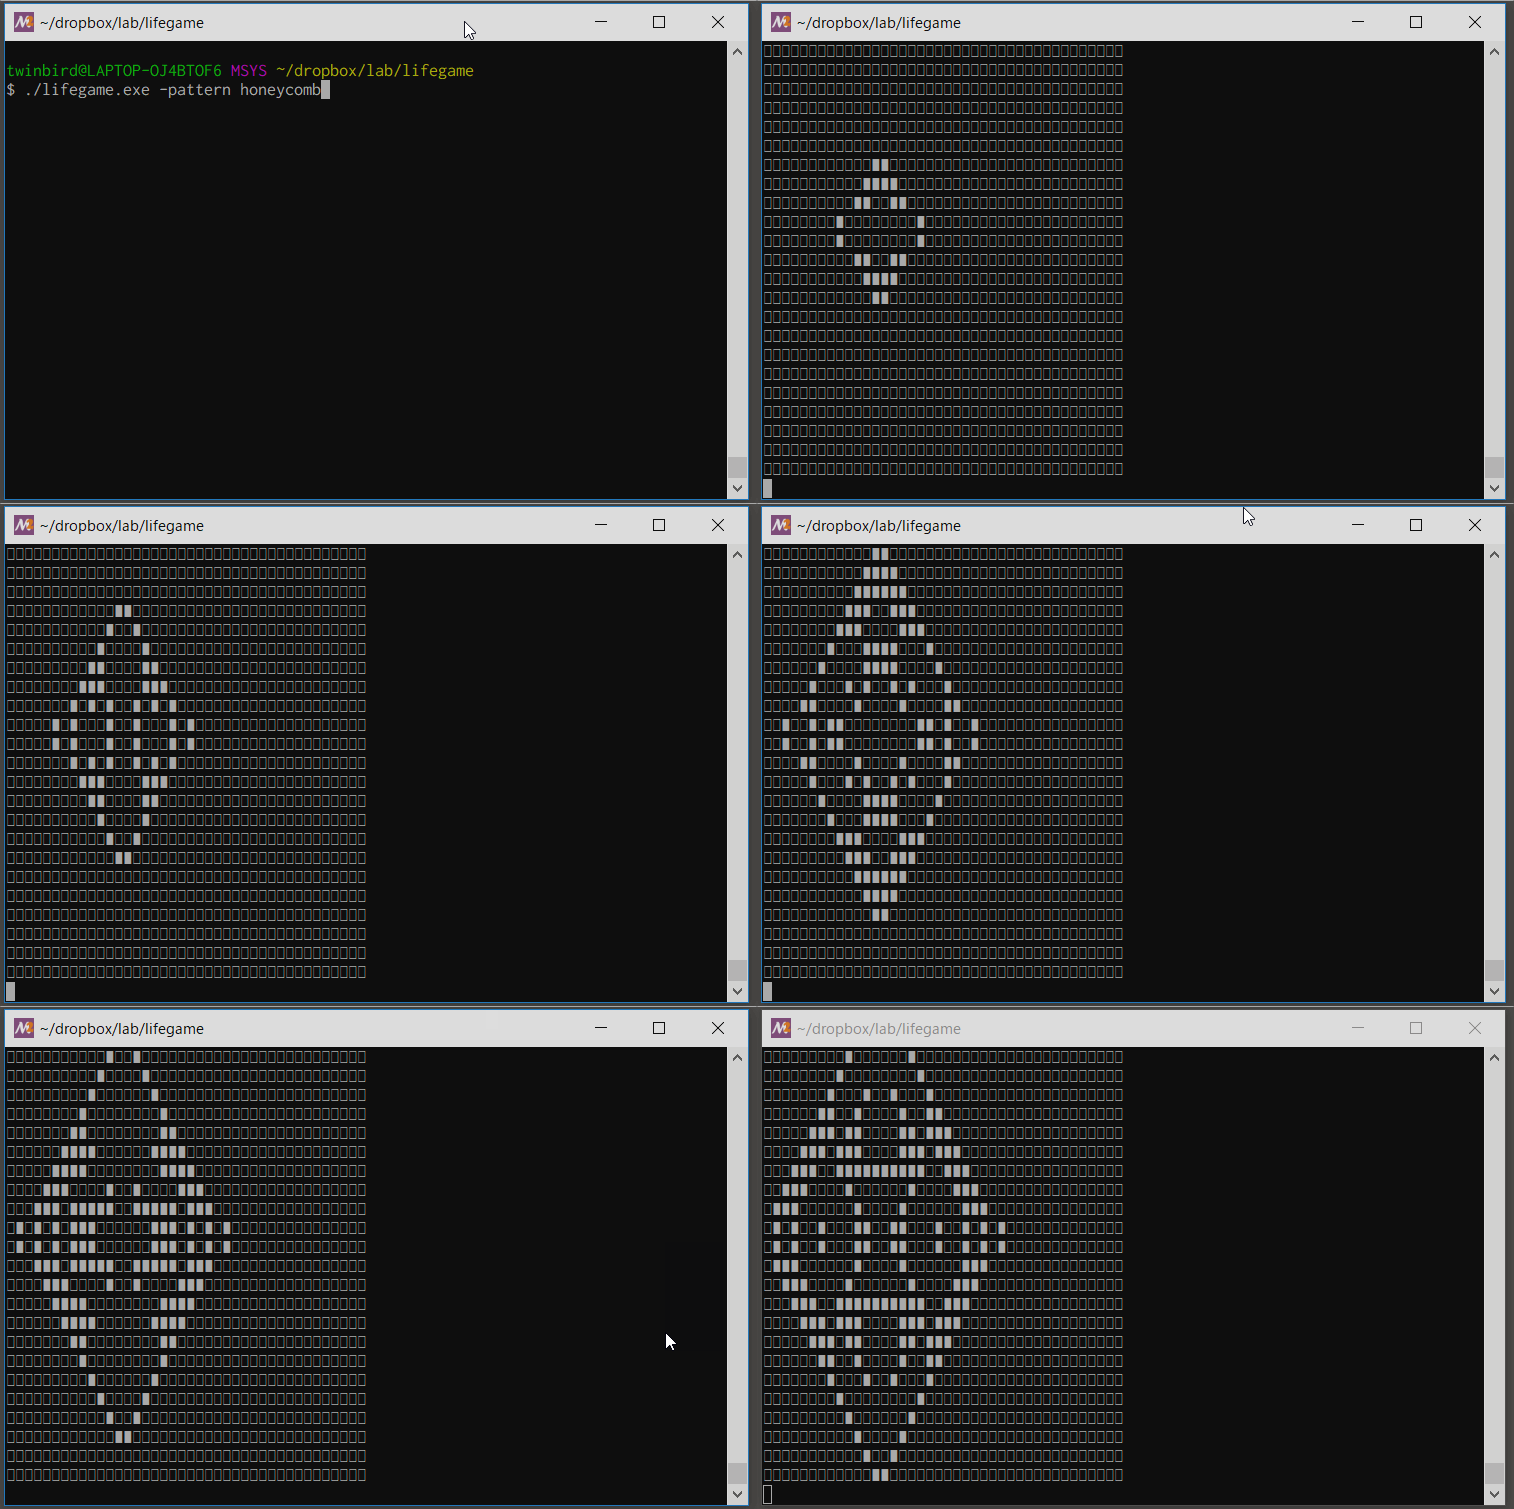
そういや書いたことないな.と思ったので書いた.

github.com

作ってみると中々面白く, 色々なパターンを試してみたくなる.

引き込まれるというのも納得である.

バグってなけりゃいいけど.
(テストとか書いてないし)

こんな感じ

block

glider

ハチの巣

参考

ライフゲーム - Wikipedia

CentOS7でsystemdを使ってgolangで作ったプログラムをデーモン化する

0. 始めに

CentOS7で試します.

UbuntuでUpstartを使った例の延長です.

UbuntuでUpstartを使ってプログラムをデーモン化する

1. プログラムを作る

プログラムは前回と同様のサンプルを使います.

挨拶するだけの単純なものです.

package main

import (
        "net/http"
        "fmt"
)

func main() {
        http.HandleFunc("/", helloHandler)
        http.ListenAndServe(":8080", nil)
}

func helloHandler(w http.ResponseWriter, r *http.Request) {
        fmt.Fprintf(w, "Hello\n")
}

これをhelloというプログラム名でビルドします.

$ go build -o hello

2. Unitファイルを作る(ディレクトリ位置)

CentOS7の場合は下記に作ります. 他のOSも同じかな?調べてませんが.

/etc/systemd/system

実は下記にもUnitファイルがあり, 上記を優先して利用する仕組みだそうです.

/usr/lib/systemd/system

管理者が変更する場合は/etc下へコピーして変更で運用するようです.

3. Unitファイルを作る(作成)

シンプルな例を探して試しました.

これを

/etc/systemd/system/hello.service

として保存します.

;はコメント
#もコメント

[Unit]
# 説明文
Description = Hello Server            

[Service]
# サービス起動時のコマンド
ExecStart = /opt/hello-svr/hello      

# サービス停止コマンド$MAINPIDはメインプロセスのPID参照に利用できる
ExecStop = /bin/kill -HUP $MAINPID    

# サービス再起動コマンド$MAINPIDは上述通り
ExecReload = /bin/kill -HUP $MAINPID && /opt/hello-svr/hello 

# alwaysを指定するとプロセスが死んだ際に常に自動起動する
# デフォルトのnoなら死んだまま
Restart = no                          

# 起動完了の判定条件.
# フォアグラウンドで起動するプログラムはとりあえずsimpleでいい様なので指定.
# forkしてコマンドが終わるタイプはforkingにすればいいらしい
Type = simple                         


[Install]
# 旧来のrunlevelの概念にあたるようです.
# multi-user.target: runlevel:3に相当
# graphical.target: runlevel:5に相当
# 他はman読む方がよさそう
WantedBy = multi-user.target

4. プログラムの配置

当然ですが.

$ sudo cp ~/hello /opt/hello-svr/hello

5. Unitの認識を確認

$ sudo systemctl list-unit-files --type=service | grep hello
hello.service                                 disabled

6. 自動起動をONにする

$ sudo systemctl enable hello

7. サービスを起動する & 確認する

$ sudo systemctl enable hello
Created symlink from /etc/systemd/system/multi-user.target.wants/hello.service to /etc/systemd/system/hello.service.
$ systemctl status hello
● hello.service - Hello Server
   Loaded: loaded (/etc/systemd/system/hello.service; enabled; vendor preset: disabled)
   Active: active (running) since 月 2017-07-17 19:03:03 PDT; 21s ago
 Main PID: 30660 (hello)
   CGroup: /system.slice/hello.service
           └─30660 /opt/hello-svr/hello

8. 動作チェック

$ curl localhost:8080
Hello

9. サービスを再起動する

$ sudo systemctl restart hello

10. サービスを停止する

$ sudo systemctl stop hello

感想

他にも色々出来そうですが, とりあえず今はこれが精一杯.

参考

Systemdを使ってさくっと自作コマンドをサービス化してみる

Systemd入門(4) - serviceタイプUnitの設定ファイル

man systemd.unit の訳

CentOS7にMariaDBを入れる

最初から入ってるかもしれない.

簡単だったけど, やったことなかったしメモ.

1. yumでインストール

入ってたら必要なさそうだけど.

# yum install mariadb mariadb-server

2. エンコーディング指定を変える

UTF8へ.

必要ならどうぞ.

# vi /etc/my.cnf

[mysqld]
....
character-set-server=utf8   #<= 追記

3. systemctlに設定

# systemctl enable mariadb.service
# systemctl start mariadb.service

4. Mariadbの初期セットアップ

# mysql_secure_installation

[Y/n]がたくさん出るけど手抜きの時は基本全部[Enter]
rootパスワードだけは入力した.
解説が親切なので特別心配も要らない.

5. 接続確認

普通にmysqlコマンド使えるんすね.

# mysql -u root -p
Enter password:[rootのパスワード]
Welcome to the MariaDB monitor.  Commands end with ; or \g.
Your MariaDB connection id is 11
Server version: 5.5.52-MariaDB MariaDB Server

Copyright (c) 2000, 2016, Oracle, MariaDB Corporation Ab and others.

Type 'help;' or '\h' for help. Type '\c' to clear the current input statement.

MariaDB [(none)]>

表示がMariaDBになっててようやく気付くレベル.

互換性意識されててよい.というかまぁ, forkだもんね.

DBマイグレーションツール gooseを使う

データベースのマイグレーションツールで自分に合ったのを探していて, 割といいのを見つけたので使い方をメモしておく.

自分としては

  1. SQLで書ける
  2. 開発言語に依存しない
  3. 開発環境に依存しない
  4. テストデータ投入まで規約がある

を備えているのが欲しかった.

gooseは最後の以外は満たしているのでかなりいい感じ.

インストール

ここは定番で.

$ go get bitbucket.org/liamstask/goose/cmd/goose

ただし, Windowsの場合SQLiteを使うせいかビルドエラーになる.

$ go get bitbucket.org/liamstask/goose/cmd/goose
# bitbucket.org/liamstask/goose/cmd/goose
C:\Go\pkg\tool\windows_amd64\link.exe: running gcc failed: exit status 1
/usr/lib/gcc/x86_64-pc-msys/5.3.0/../../../../x86_64-pc-msys/bin/ld: -lmingwex が見つかりません
/usr/lib/gcc/x86_64-pc-msys/5.3.0/../../../../x86_64-pc-msys/bin/ld: -lmingw32 が見つかりません
/usr/lib/gcc/x86_64-pc-msys/5.3.0/../../../../x86_64-pc-msys/bin/ld: -lmingwex が見つかりません
/usr/lib/gcc/x86_64-pc-msys/5.3.0/../../../../x86_64-pc-msys/bin/ld: -lmingw32 が見つかりません
collect2: エラー: ld はステータス 1 で終了しました

ここで書いた時の現象と一緒だし, たぶんそう.

解決するにはTDM GCCを入れてコマンドプロンプトからgo getを実行しなおせばいい.

(MSYS2だと動作しないので注意.たぶんCygwinもじゃないかなぁ)

設定

何がともあれディレクトリを作ります. 名前はdbでないとダメなようで.(-pathオプションで変えられますが)

$ mkdir db

設定ファイルが必要になるが, 面倒なのでサンプルをコピーしてくる.

$ cd db/
$ cp $GOPATH/src/bitbucket.org/liamstask/goose/db-sample/dbconf.yml ./

後は接続先に合わせて変更する.

サンプルはPostgresだったので, ここではMySQLにしておく.
(mymysqlは誤植ではない, 使うgolangのドライバを明示的に指定している)

development:
    driver: mymysql
    open: [DB名]/[ユーザ名]/[パスワード]

MySQLにログインして, データベースも作っておきましょう.

> CREATE DATABASE demo;

接続確認のために状態確認する.

$ goose status
goose: status for environment 'development'
    Applied At                  Migration
    =======================================

使う

ここまで来るとかなり単純.

というか単純なものが欲しかったんだけど.

テーブルを作る(upする)

マイグレーションファイルを作るには以下のコマンドを使います.

$ goose create [テーブル名] sql

とりあえずUsersテーブルを作ってみる.

$ goose create users sql
goose: created C:\msys64\home\twinbird\dropbox\lab\sample\db\migrations\20170623171909_users.sql

出来たファイルを編集.

$ vi db/migrations/20170623171909_users.sql

こんなのが出来てます.シンプルでいいっすね.

-- +goose Up
-- SQL in section 'Up' is executed when this migration is applied


-- +goose Down
-- SQL section 'Down' is executed when this migration is rolled back

それぞれ編集します.

-- +goose Up
-- SQL in section 'Up' is executed when this migration is applied

CREATE TABLE users(
    id SERIAL,
    name varchar(20),
    email varchar(20)
);

-- +goose Down
-- SQL section 'Down' is executed when this migration is rolled back

DROP TABLE users;

いよいよ, マイグレーションしましょう.

$ goose up
goose: migrating db environment 'development', current version: 0, target: 20170623171909
OK    20170623171909_users.sql

うまくいきました.

戻す(downする)

そのままです.

$ goose down
goose: migrating db environment 'development', current version: 20170623171909, target: 0
OK    20170623171909_users.sql

バージョンを見る(dbversion)

バージョンはタイムスタンプそのままみたいですね.

$ goose dbversion
goose: dbversion 20170623171909

最新バージョンに上げ直す(redo)

過去のコミットまで戻った時は便利そうです.

$ goose redo
goose: migrating db environment 'development', current version: 20170623171909, target: 0
OK    20170623171909_users.sql
goose: migrating db environment 'development', current version: 0, target: 20170623171909
OK    20170623171909_users.sql

感想

自分が求めていたものが大体満たされていて非常に良い感じ.

自作しようかと思っていたけど, 作らなくてよかった.

ドキュメント読むとGo Migrationsってのもあるけど, これは使いそうにないなぁ.